
REQUIRED TOOLS
- Allen key #3
- Wrench #14
HELPFUL TOOLS
BEFORE YOU START
 |
|
PROCEDURE
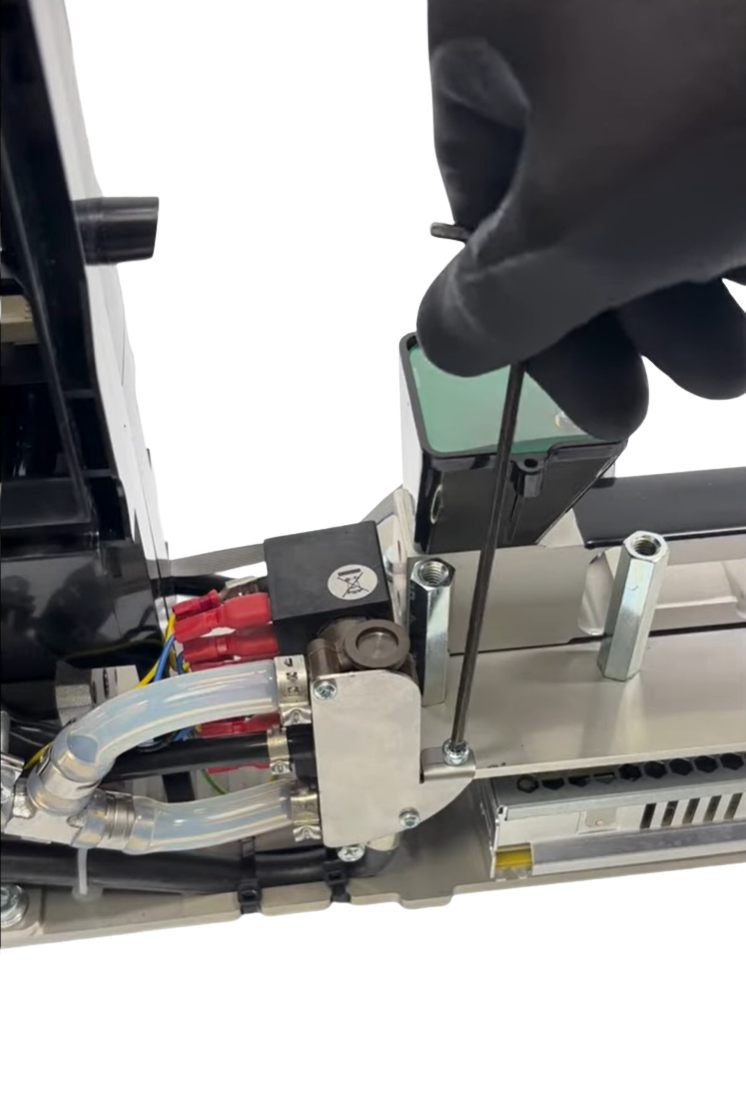
- Remove the screw from the steam valve assembly support with an allen key #3.
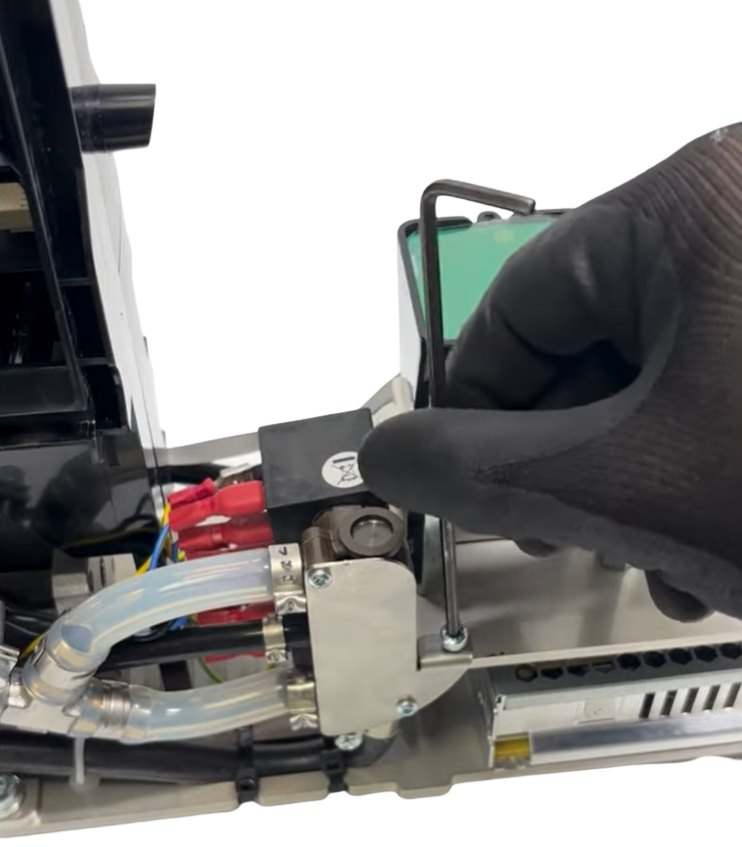
Pull the steam valve assembly down.
Disconnect the 9 cables from the tabs on the solenoid coils.
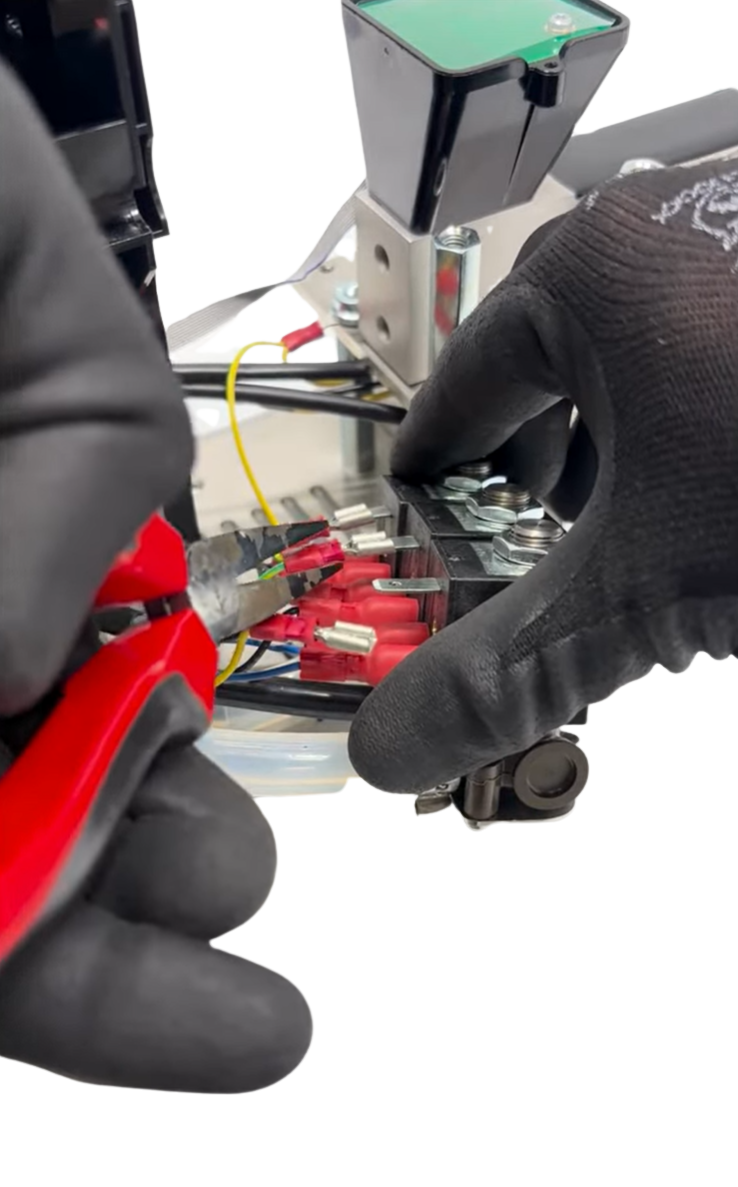
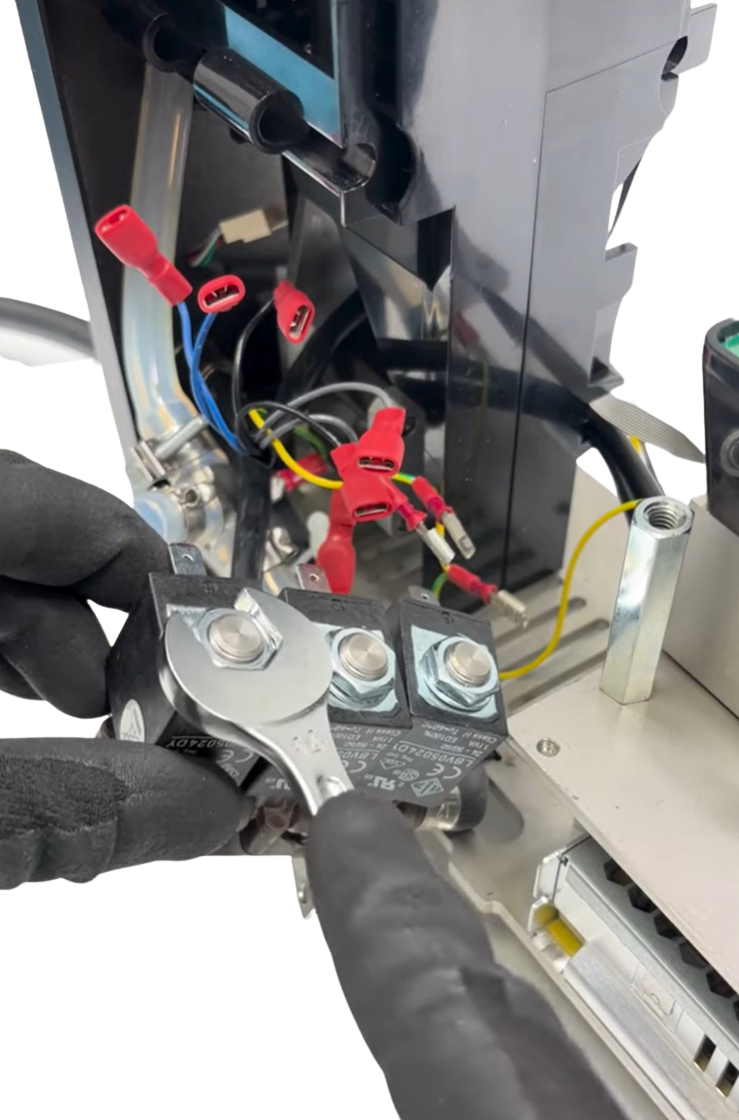
Loosen the 3 nuts with a wrench #14 and remove them from the solenoid coils.
Remove the 3 solenoid coils from the steam valve assembly.
Open the 3 barrels with a wrench #14.
 | 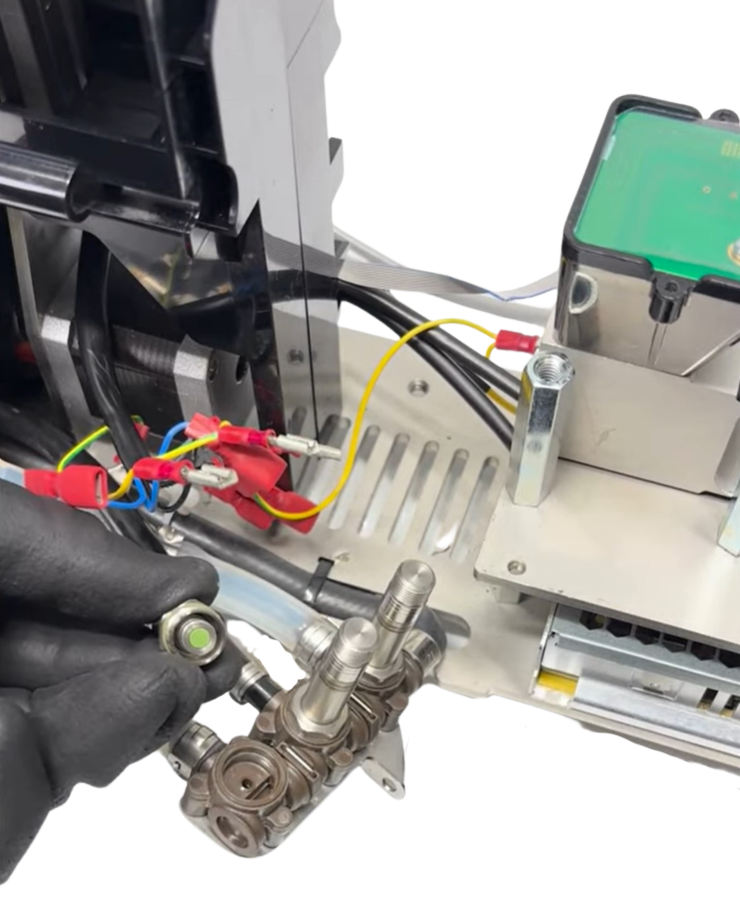 |
Remove any dirt or burrs blocking the valves. Clean all 3 valves with a clean Moose hanky.
Reattach the 3 barrels to the steam valve assembly.
Place the 3 solenoid coils over the barrels. Position the horizontal tab at the top.
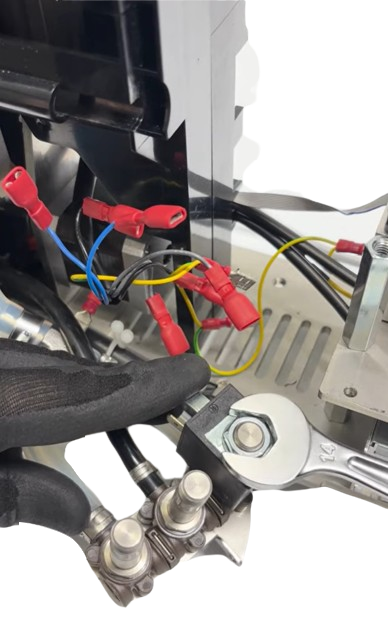
Install the nuts on the 3 solenoid coils and tighten the nuts with a wrench #14.
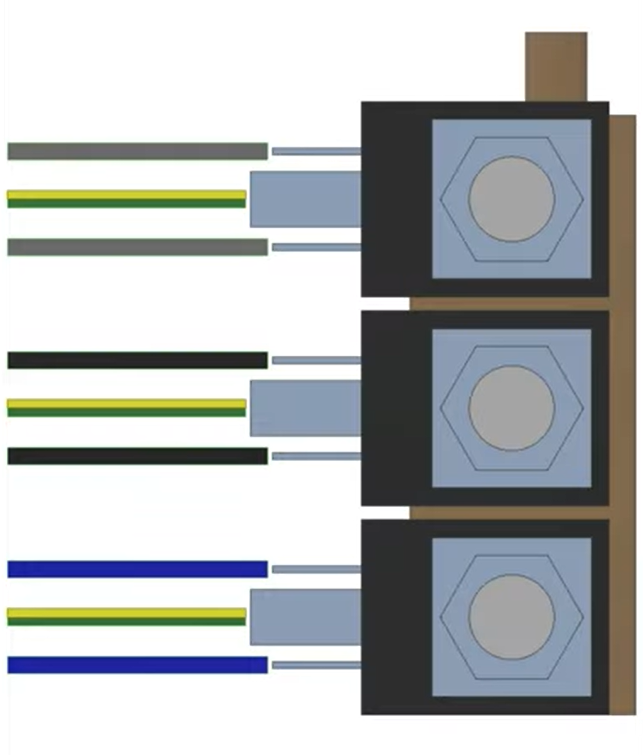
Reconnect the 9 cables to the tabs on the solenoid coils. Follow the wiring diagram:
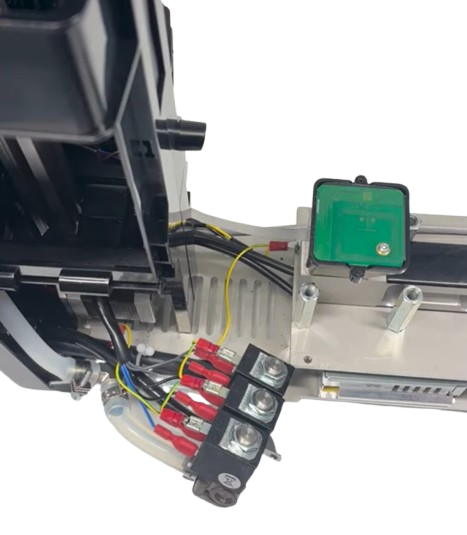
Return the steam valve assembly to its original position. Attach the steam valve assembly to its support with the screw and tighten with an allen key #3.
Re-open the steam supply and check for leakages.