REQUIRED TOOLS
- Software update unit (Ref 11507)
- RFID key fob
- µSD-card
- Screwdriver T10 Torx head
- Screwdriver T25 Torx head
- Allen key #5
- 1kg calibration weight
- Computer
- Software files (V5.314)
BEFORE YOU START
|
|

PROCEDURE
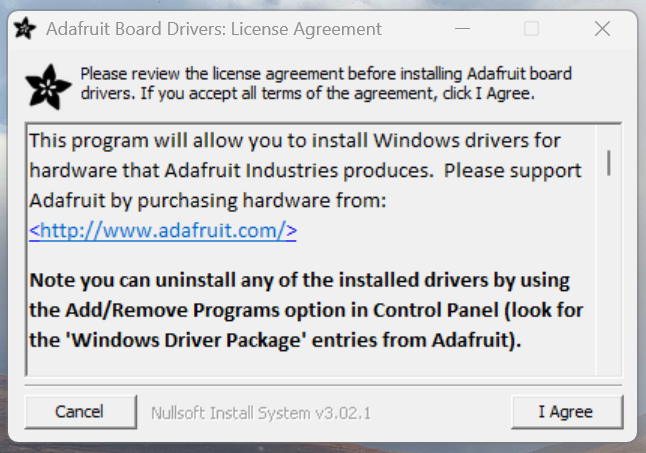
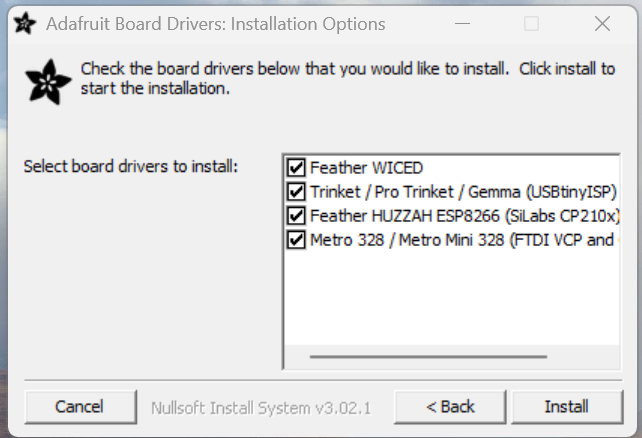
- Install the Arduino-driver on a computer. Download the file onto a computer and install the driver by opening as administrator or clicking the right mouse-button on the file ‘adafruit_drivers_2.5.0.0' in the folder “Driver” and click ‘Install’.
- Take out the µSD-card from the PCB-mainboard
- Connect the USB-plug of the software update unit to the USB-port of a computer.
- Connect the software update unit with the red stripe upwards onto the motherboard. On the motherboard a green light will turn on when connected correctly. If the software update unit is connected upside down a red light will light up on the motherboard.
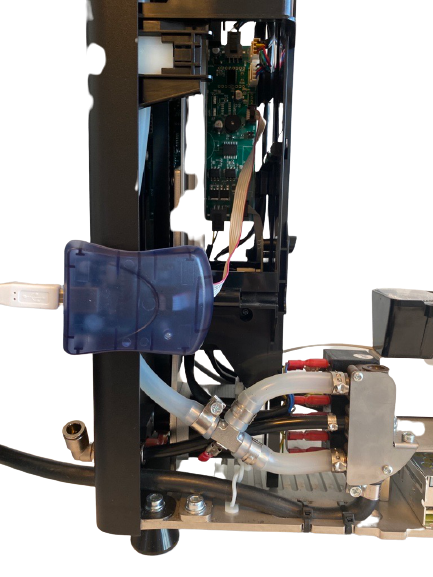 | 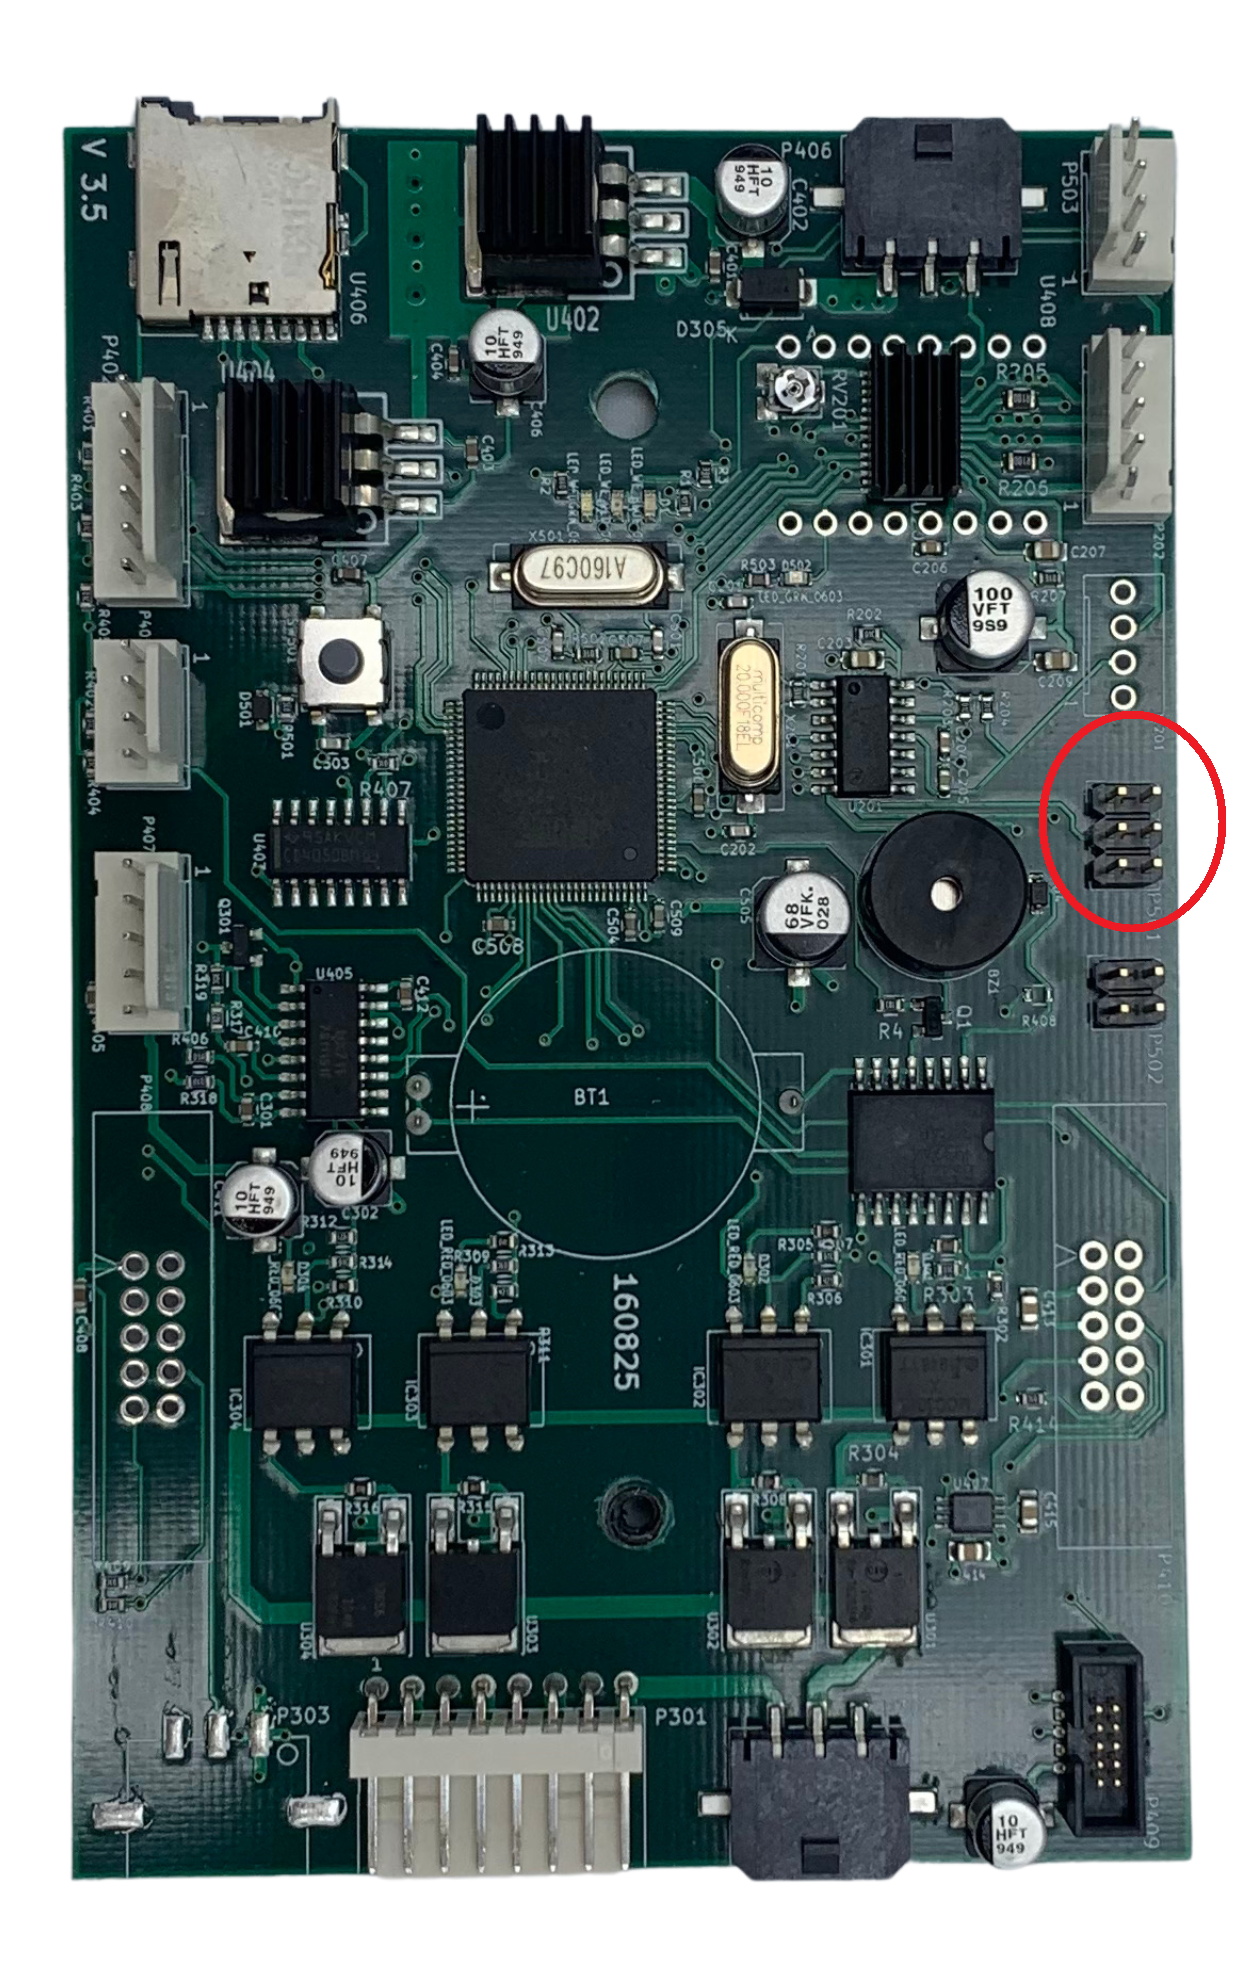 |
- Upload the software on the touchscreen.
- Follow the procedure to upgrade the recipe version if the recipe version is below 1120.
- Open the file 'UploadToMainBoard' in the folder “Software”.
- Write the full filename 'WS5314_20250303.ino.hex' with respect to the lower-case and uper-case/caps.
- By pressing enter the new software will be written on the motherboard.

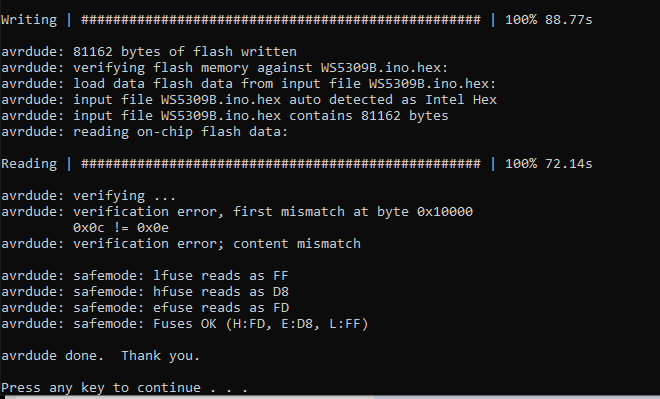
- Press any key to complete the software update/upgrade of the motherboard.
- Disconnect the software update unit from the motherboard and computer.
Attention! In case updating the software on the touchscreen, first check if the update on the touchscreen is completed before disconnection the software update unit. - Put back the µSD-card in the PCB mainboard
- Close the Greg of Jack housing.
- Reconnect the Moose to the power cable and switch on the Moose.
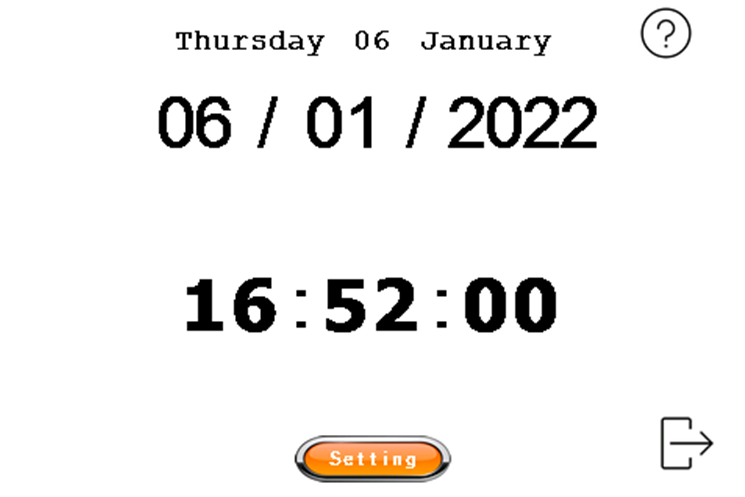
- Fill in the correct date and set the time to UTC-time (Coordinated Universal Time). Do not deviate more than 3seconds from the UTC-time.
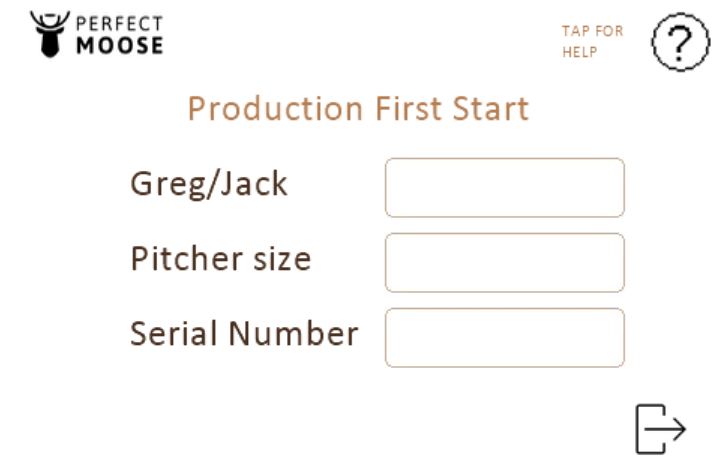
- Choose with the button if it's a Perfect Moose Greg or Jack.
- Choose with the button if it's a Perfect Moose (35-50-75cl) or Epic Perfect Moose (50-75-100cl).
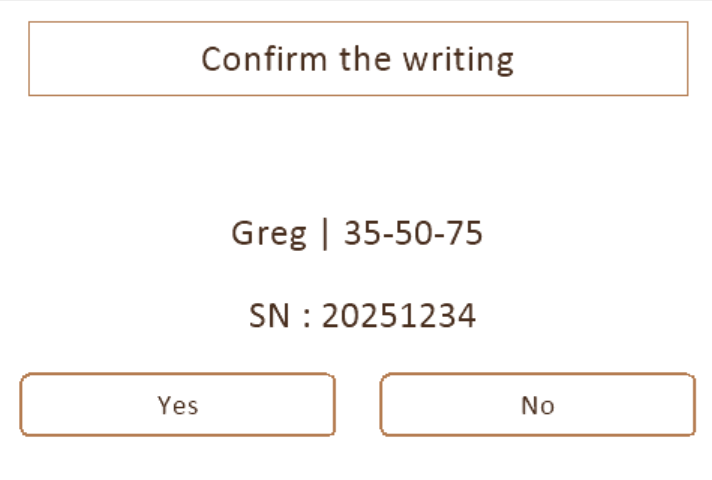
- Write the serial number, this can be found on the silver label at the bottom of the Perfect Moose.
- Confirm the writing by clicking the yes button.