
REQUIRED TOOLS
- Screwdriver T10 Torx head
- Screw driver T25 Torx head
- Allen key #5
- Computer
- µSD-card adapter
REQUIRED PARTS
- µSD-card
- Microsoft Windows (Not compatible with Apple macOS or iOS)
- Touchscreen in holder (Ref 12891) or touchscreen (Ref 10393 or 11674)
- Screen software
BEFORE YOU START
|
|

PROCEDURE
- 10393 - 'QC PASS'-print in blue or no print on the µSD-slot
- 11674 or 12891 - QR-code or 'T'-marking on µSD-slot
| Ref | Description on µSD-slot | Picture |
| 10393 | 'QC PASS' (in blue) OR no print | 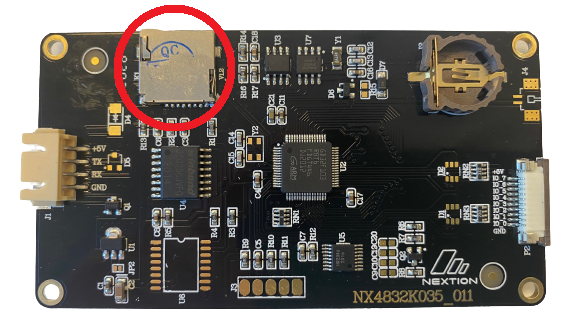 |
| 11674, 12891 or 13106 | QR-code OR 'T'-marking | 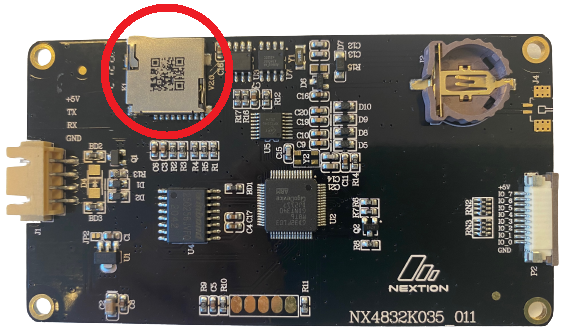 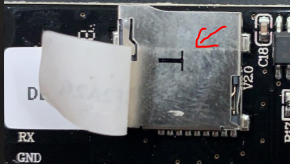 |
- Place only the correct TFT-file on a µSD-card, depending on the reference number. Make sure no other files or folders are on the µSD-card.
- 10393 - 'Moose_5310_270.tft' in the folder "µSD-slot with print 'QC-PASS'"
- 11674, 12891 or 13106 - 'Moose_5310_N_270.tft' in the folder "µSD-slot with print 'T' or QR-code"
- Place the µSD-card in the µSD-slot of the touchscreen.
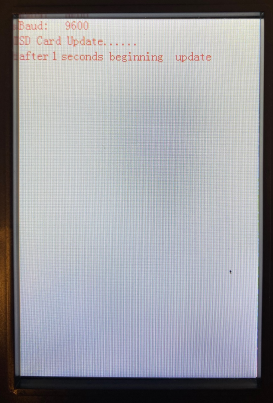
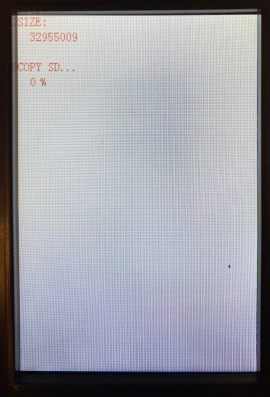
- Switch on the power of the Perfect Moose to start uploading the screen software on the touchscreen.
 |  |
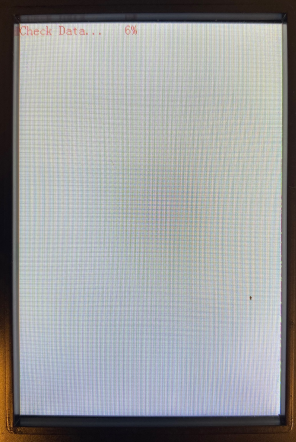 | 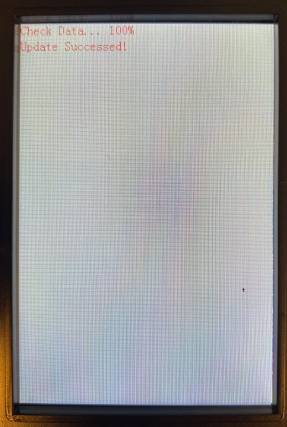 |
- The screen software will write the software on the touchscreen.
- Wait until "Update Successed!" pops on the screen.
- Switch off the Moose before taking the µSD-card out from µSD-slot of the touchscreen.
- Close the Moose housing.
- Check the functions of the Perfect Moose in the manual testing menu.
 NEED TO REPLACE THE TOUCHSCREEN?
You can find the article to replace the touchscreen by clicking here.